How to Set up a MySQL Server on Ubuntu 20.04

MySQL, a Relational Database Management System (RDBMS), is one of the four open-source building blocks (LAMP) used to set up most web applications. It makes use of the Structured Query Language to manipulate, process, and organise data into useful information.
In this article, I will be highlighting steps to install and set up a MySQL server on a Linux Virtual Machine (VM), an Ubuntu 20.04 droplet on Digital Ocean.
Pre-requisites
To carry out this task, you should have set up an Ubuntu 20.04 machine with a root user account or a user with sudo privileges.
Setting up the MySQL Server
1. Updating Cache
Update the packages repository with the following command:
sudo apt update && sudo apt upgrade -y
2. Installing MySQL
Install the MySQL server with:
sudo apt install mysql-server -y
You can confirm the successful installation of the server with the following commands:
mysql --version
OR
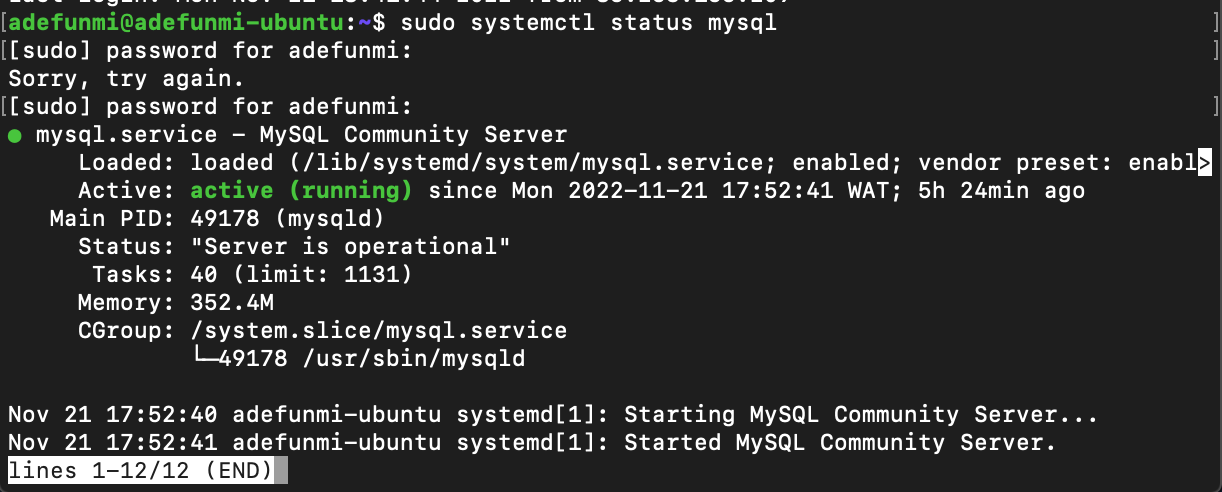
sudo systemctl status mysql
You will have an image as shown below:
3. Securing MySQL Installation:
After installing the MySQL server, the default user created is the root and this user gains access to the server through the auth_socket authentication plugin. This method of authentication does not require a password.
To set up the server for more secure and effective usage, you would have to run the Database Management System's (DBMS) security script to change some default less secure options. However, to successfully carry out the MySQL_secure_installation step, you will have to log into the server, set a password for the root user, and change the default authentication method from auth_socket to mysql_native_password with the following commands:
sudo mysql

ALTER USER 'root'@'localhost' IDENTIFIED WITH mysql_native_password by 'mynewpassword';

exit
Note these:
a. Thesudo mysql will take you into the mysql interface and
b. You need to change mynewpassword in the code above into a password that you can easily remember.
c. The exit command takes you out of the MySQL interface and back to the shell.
At this point, logging into the server with sudo mysql will give you an error.
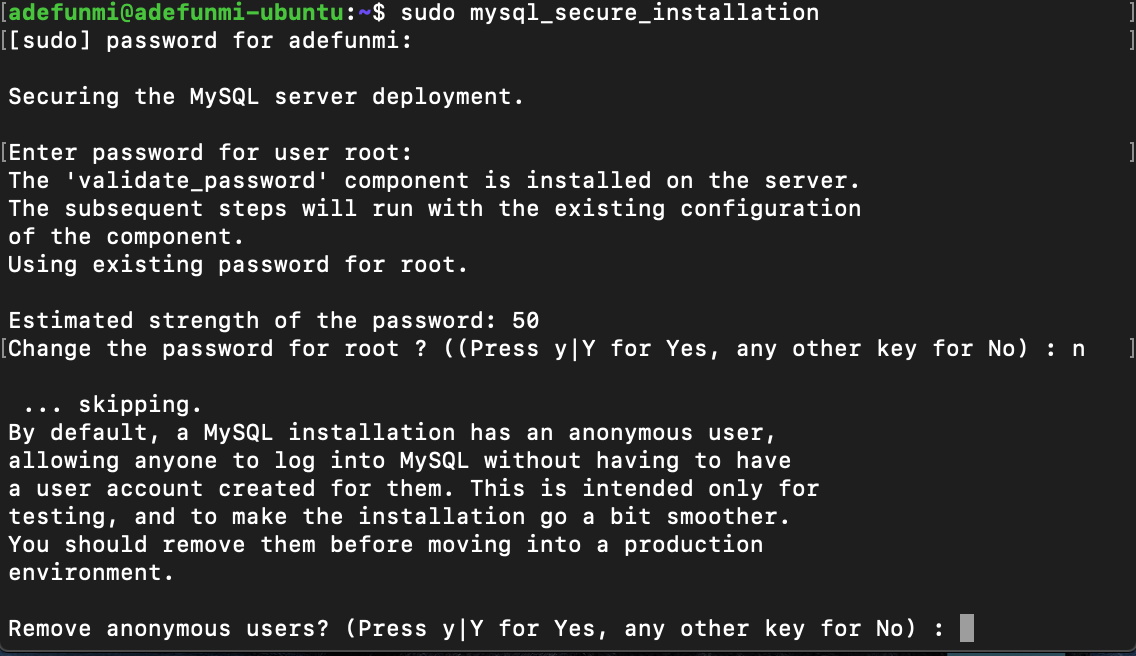
Next is to secure the MySQL server with the command:
sudo mysql_secure_installation
You will be asked to enter the password you set for the root user and if you would like to change it. Pick no.
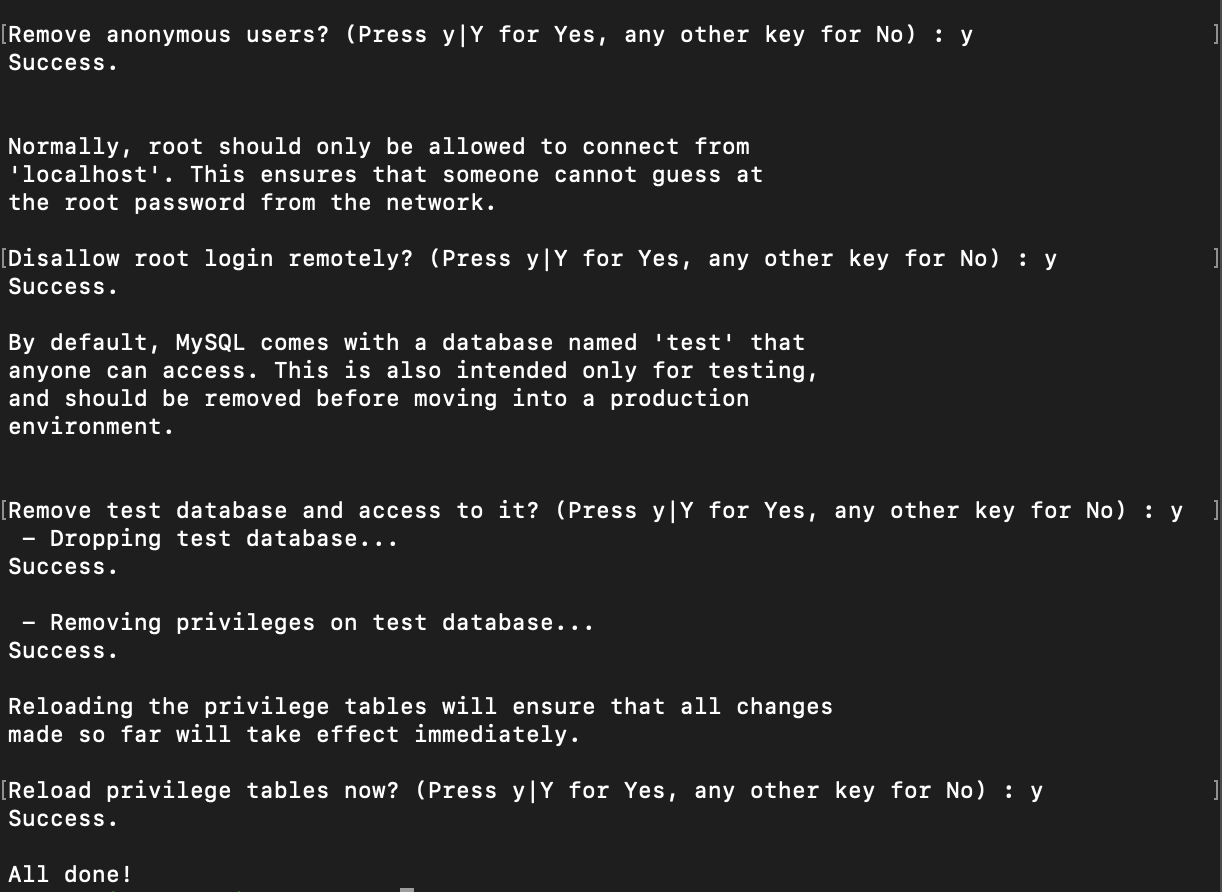
Click on Y or y to answer yes to the series of other questions you will be asked till you get All done!. These steps help to secure the server by removing anonymous users, removing access to test databases, and disallowing root login remotely, as shown below:
After you have successfully secured the server, log back into the server with the password you created earlier whenever you are prompted for it. This step will help to revert to the default authentication method:
mysql -u root -p

ALTER USER 'root'@'localhost' IDENTIFIED WITH auth_socket;

exit
Here, you can now gain access to the MySQL server once again with sudo mysql.
Creating Database, User with sudo privileges, and their Password.
With the following commands you can add a Database and a User to your setup:
sudo mysql

CREATE DATABASE newdatabasename;

CREATE USER 'username'@'localhost' IDENTIFIED BY 'setapassword';

GRANT ALL PRIVILEGES ON *.* TO 'username'@'localhost' WITH GRANT OPTION;

FLUSH PRIVILEGES;

EXIT
Note that you are to replace newdatabasename, username, setapassword with your preferred names.
To log into the server using the newly created user, you will type:
mysql -u username -p
And when you are prompted for the password, you will input the password that you set when creating the user.
Conclusion
Setting up the MySQL server may seem like a bit of a difficult task, especially when trying to run the mysql_secure_installation step. Without first changing the default root authentication method and setting a password for the user, you may end up in a recursive loop whereby the only way out will be to close the terminal.
It is thereby essential that you carry out the following steps highlighted above to have a seamless installation and use of the MySQL server.
For more helpful information, visit the links below:
https://dev.mysql.com/doc/mysql-secure-deployment-guide/8.0/en/secure-deployment-configure-authentication.html
https://www.digitalocean.com/community/tutorials/how-to-install-mysql-on-ubuntu-20-04
https://www.linode.com/docs/guides/installing-and-configuring-mysql-on-ubuntu-2004/


