

Photo by Gabriel Heinzer on Unsplash
How to Solve "ssh-copy-id Permission denied (public key)" Between Two Ubuntu Machines.


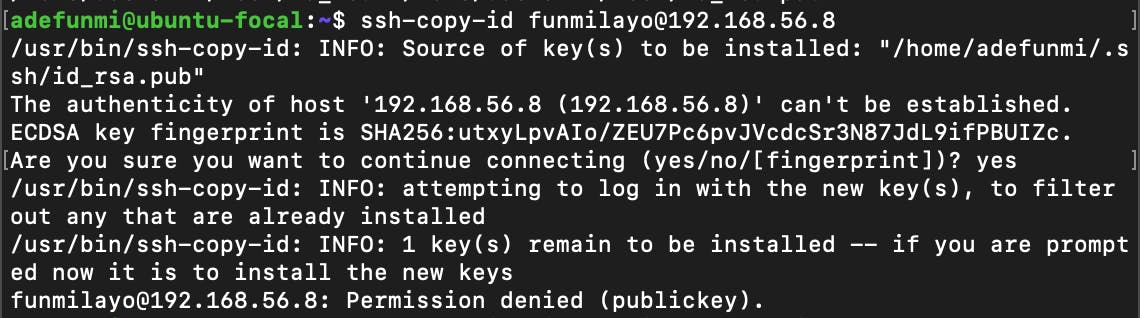
Are you trying to connect remotely with a Linux server, e.g. Ubuntu, with SSH but on trying to copy your public key with the ssh-copy-id command you met this brick wall: Permission denied (public key)? If you are not sure of what I am talking about, the following image shows the error I am referring to.
Not to worry, I have documented a step-wise method that I used in solving that issue. Without further ado, let's get into it.
Requirements
This task requires two Linux machines, one will serve as the host machine while the other will serve as the remote one.
Users: The machines should have users that you will be connecting with using
ssh. In this case, I created a user calledadefunmion the host machine and another one calledfunmilayoon the remote machine.You must have generated an SSH key pair with the user's account (from requirement 2 above) on the host machine with
ssh-keygen -t rsa.
How to Solve Permission Denied (public key) Error.
Step 1:
Open two terminals, one will be for your host machine and the other will be for the remote VM. On each machine, navigate into the home directories of the users you created on them. In my case, I went into the home directory of adefunmi on the host VM and funmilayo on the remote machine.
Step 2:
In the user's home directory on your remote machine, make a new directory called .ssh with:
mkdir .ssh
In this case, using funmilayo's home directory, I created the .ssh folder as seen below:
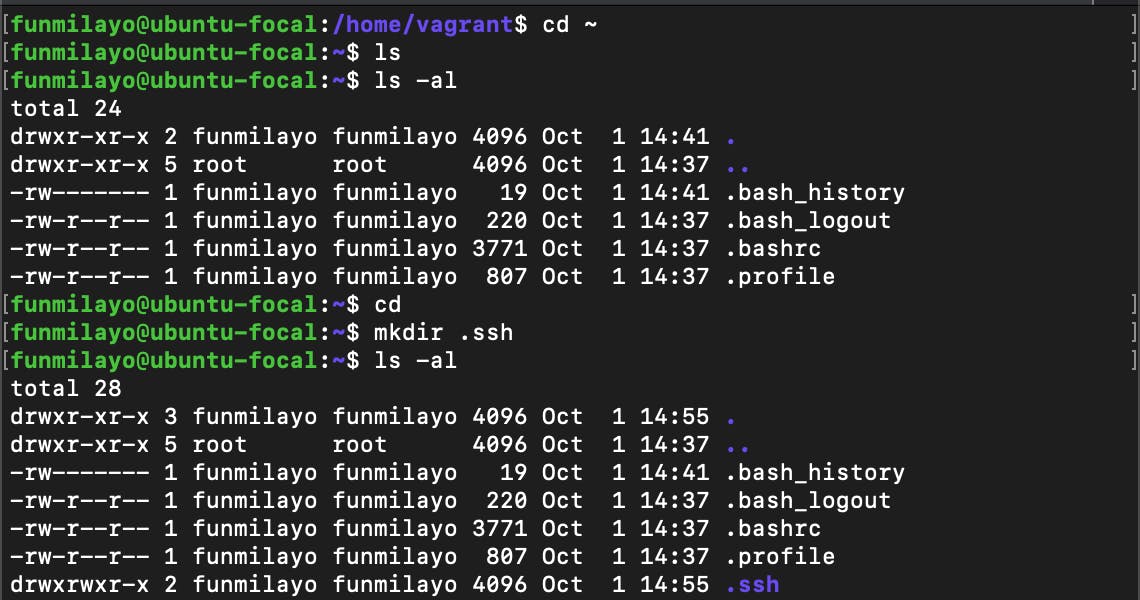
Note that there was no .ssh directory when I initially listed the contents of the user's home directory.
Step 3:
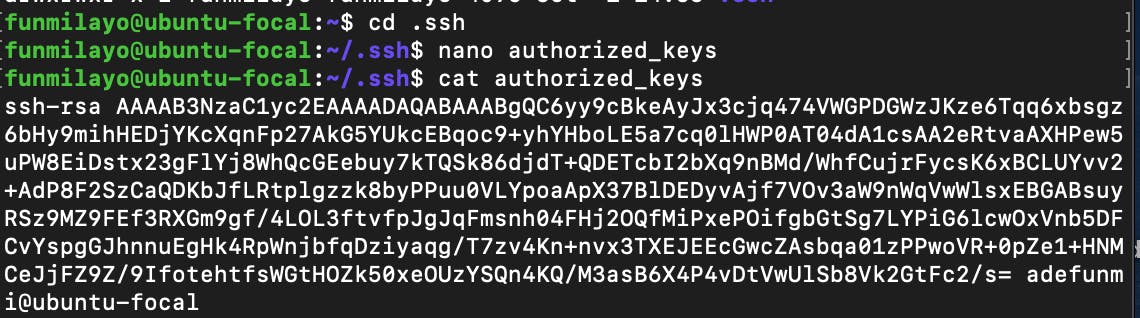
Change to the .ssh directory you created, and open and edit a new file called authorized_keys. You can use any editor of your choice, I am using the nano editor.
cd .ssh

nano authorized_keys
Step 4:
On the host machine's terminal, navigate to the .ssh directory in the user's home directory, display the content of the public key file (your .pub file) and copy the content manually. For me, in adefunmi's home directory, I used the following commands:
cd .ssh

ls

cat "name-of-ssh-file-with-.pub-ending"
Note that the ls command I used was to list out the contents of the .ssh file so that I would be sure of what I wanted to use.
Replace "name-of-ssh-file-with-.pub-ending" with the name of the .pub file you want to use.
Step 5:
Go to the remote machine's terminal and paste the .pub file content into the authorized_keys file you opened in step 3 above. e the nano file by pressing the ctrl o and enter keys and exit the editor by pressing the ctrl x keys.
Step 6:
Restart the sshd service with the following command:
sudo systemctl restart sshd
Step 7:
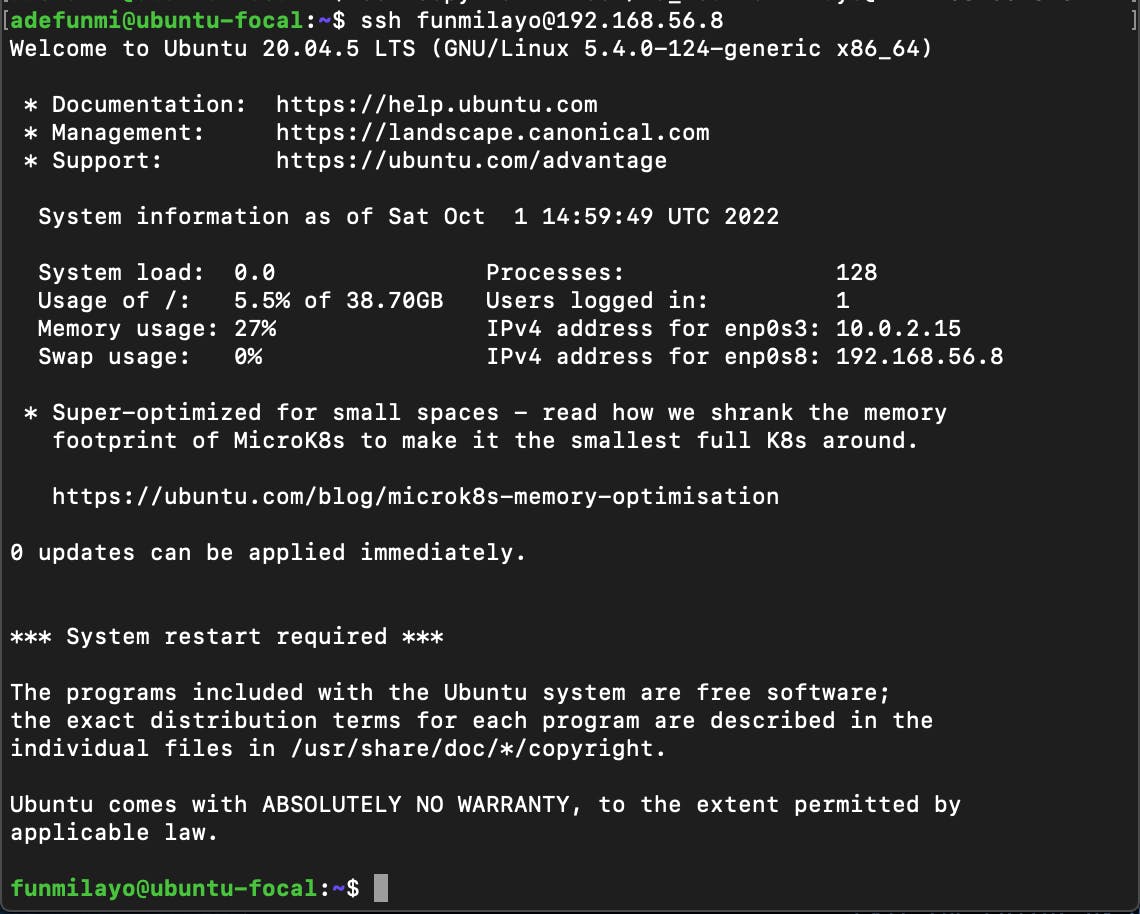
Finally, connect to the remote server from your host machine with the command below:
ssh username@remoteserver-IP-address
I connected using ssh to the user, funmilayo, on the remote server with its IP address as shown below:
In conclusion
The above steps have shown you how to successfully create a secure connection between two Linux (Ubuntu) machines, especially when faced with the permission denied (public key) error. I hope this article helps you get past that obstacle so that you can create more magic in your terminal.
Happy Coding!!!