


Table of contents
- Pre-requisites
- Step-by-step procedures for deploying the Laravel app
- 1. Updating repository cache:
- 2. Installation of Apache Server:
- 3. Installation of PHP packages and dependencies:
- 4. Configuring the PHP server:
- 5. Installing MySQL server and dependencies:
- 6. Securing MySQL Installation:
- 7. Creation of a Database (DB) and User:
- 8. Installing Composer:
- 9. Cloning of the Laravel app:
- 10. Configuring the Laravel app .env file:
- 11. Installing the Laravel app dependencies:
- 12. Setting the Laravel real-life app permissions:
- 13. Setting Apache's Config File and Virtual Host:
- Final Steps:
- Conclusion
If you're looking for a fun project to enable you to work with Linux servers, install applications with their dependencies, and their deployment, here is one. The Laravel application used in this article is an open-source project which will help you test your knowledge without having to build one by yourself.
This project is beginner friendly because you won't be using Laravel Sail and Docker as specified in the README section of the repo, but will be working with the LAMP (Linux, Apache, MySQL, and PHP) stack, composer, and other Laravel dependencies.
Without wasting any more time, let's get right into the task.
Pre-requisites
To carry out this task, you must have:
An Ubuntu 20.04 Virtual Machine. I will be working with a droplet (VM) on Digital Ocean using the ssh authentication method. If you want, you can visit this link to set yours up.
Connected with the server through ssh into the root account and created another user with
sudoprivileges. For this task, I created a user called,adefunmi. Click on this link to learn how it's done.
Step-by-step procedures for deploying the Laravel app
1. Updating repository cache:
The first thing required to carry out installations on any Linux distro is updating the repository cache. So you will do this with the command:
sudo apt update && sudo apt upgrade -y
2. Installation of Apache Server:
You will install the Apache server with the command:
sudo apt install apache2 -y
And to confirm its installation, copy and paste the IP address of your ubuntu droplet into your web browser. You should see an image like this:
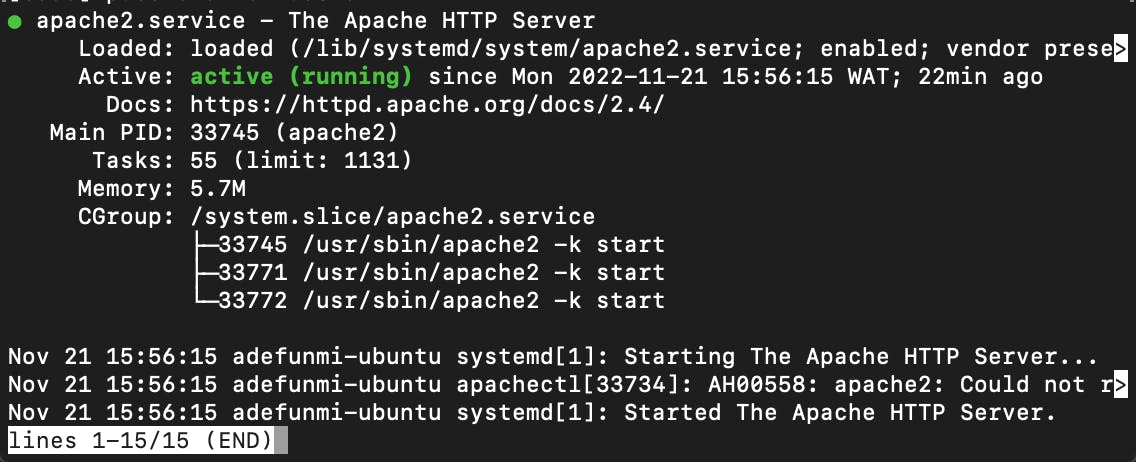
Alternatively, you can check the Apache2 server's status with the command sudo systemctl status apache2 and have an image like this:
3. Installation of PHP packages and dependencies:
For the installation of PHP and all its dependencies, type the following commands in succession.
sudo add-apt-repository -y ppa:ondrej/php
sudo apt update
sudo apt install php php-mysql libapache2-mod-php python3-pymysql php-common php-xml php-gd php-tokenizer php-mbstring php-json php-zip unzip php-bcmath php-curl php-intl php-soap php-xdebug php-imagick -y
You can confirm the installation of PHP with the following command:
php --version
You should get an image as shown below:

4. Configuring the PHP server:
In running applications that require PHP, configuration settings are done in the php.ini file. And for this task, you will open the configuration file with your preferred editor. In this case, I am using nano.
sudo nano /etc/php/8.1/apache2/php.ini
Our aim in this file is to edit the line cgi.fix_pathinfo=1. To gain access to this line quickly, I searched with the command ctrl w and then typed cgi.fix_pathinfo, this took me directly to the section containing the code.
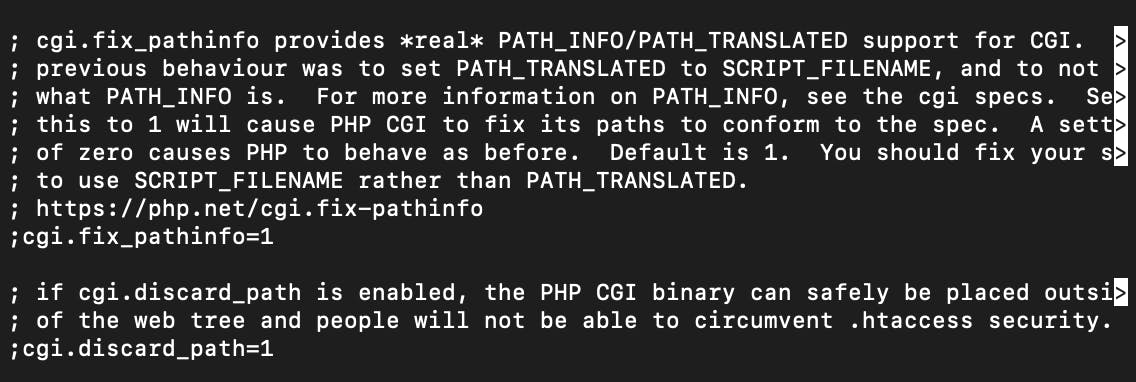
On the line, uncomment the code by removing the semicolon before cgi and also replace 1 with 0. Save what you have done with ctrl o then press the Enter key and exit the editor with ctrl x.
Having touched a configuration file, you need to restart/reload the service for the changes to take effect. This will be done by the command:
sudo systemctl restart apache2
5. Installing MySQL server and dependencies:
The installation of the MySQL server for our task will be done by the following command:
sudo apt install mysql-server mysql-client python3-mysqldb libmysqlclient-dev -y
You can confirm your installation with:
mysql --version

OR

sudo systemctl status mysql
6. Securing MySQL Installation:
After installing MySQL, You can follow this link to run the DBMS's security script.
7. Creation of a Database (DB) and User:
Log into the MySQL server to create a new DB, a new user with a password, and also grant all access to the Database to the user created with these following commands in succession:
CREATE DATABASE laravel_db;

CREATE USER 'laravel_user'@'localhost' IDENTIFIED BY 'Password';

GRANT ALL ON laravel_db.* TO 'laravel_user'@'localhost';

FLUSH PRIVILEGES;

EXIT
Replace laravel_db, laravel_user, and Password with names you can easily remember, you will need them later.
8. Installing Composer:
For the installation of Laravel, you need composer which is a tool that Laravel uses to manage its dependencies. To install it, you need this command:
curl -sS https://getcomposer.org/installer | php
Your output should look like this when you hit the enter key:

The next thing to do is to move the composer.phar file that was downloaded into the /usr/local/bin/ directory to make it globally available on the server using this command.
sudo mv composer.phar /usr/local/bin/composer
To verify your installation, type the command composer and you should have an output like this:
9. Cloning of the Laravel app:
As stated earlier, we will be working with a Laravel app that is available on this git repo. And to install the app, we will be running the following commands:
git clone https://github.com/f1amy/laravel-realworld-example-app.git

mv laravel-realworld-example-app laravel
From the code lines above, I used the mv command to rename the app after cloning it. I changed it from laravel-realworld-example-app to laravel to help me keep things simple. You can replace it with any name that you like or skip the step. However, if you skip the step, you have to use the long name anywhere it's needed afterwards.
10. Configuring the Laravel app .env file:
The .env file is a file holding the app's environment variable settings. The values usually differ based on whether the app is running on a local or production server. In the repository we cloned, there is a .env.example file in it. We will copy the file and name it .env with these commands:
cd laravel

cp .env.example .env
Open the .env file with your preferred editor and change the following lines as shown below:
APP_ENV=local
APP_DEBUG=true
APP_KEY=
APP_URL=http://IP-ADDRESS

DB_CONNECTION=mysql
DB_HOST=localhost
DB_PORT=3306
DB_DATABASE=laravel_db
DB_USERNAME=laravel_user
DB_PASSWORD=Password

CACHE_DRIVER=file
SESSION_DRIVER=file
QUEUE_DRIVER=sync

REDIS_HOST=localhost
REDIS_PASSWORD=null
REDIS_PORT=6379

MAIL_DRIVER=smtp
MAIL_HOST=googlemail.com
MAIL_PORT=465
MAIL_USERNAME=XXXXXXXXXXX
MAIL_PASSWORD=XXXXXXXXXXX
MAIL_ENCRYPTION=null
For the APP_URL, you can add your domain name if you already have one. However, I added the IP address of my server to simplify the task.
11. Installing the Laravel app dependencies:
This is done by using the composer package that we downloaded in step 8 above. To do this, we will move our Laravel app into the /var/www/html directory first, change into the laravel directory and run a series of commands:
sudo mv laravel /var/www/html/
cd /var/www/html/laravel/
composer install
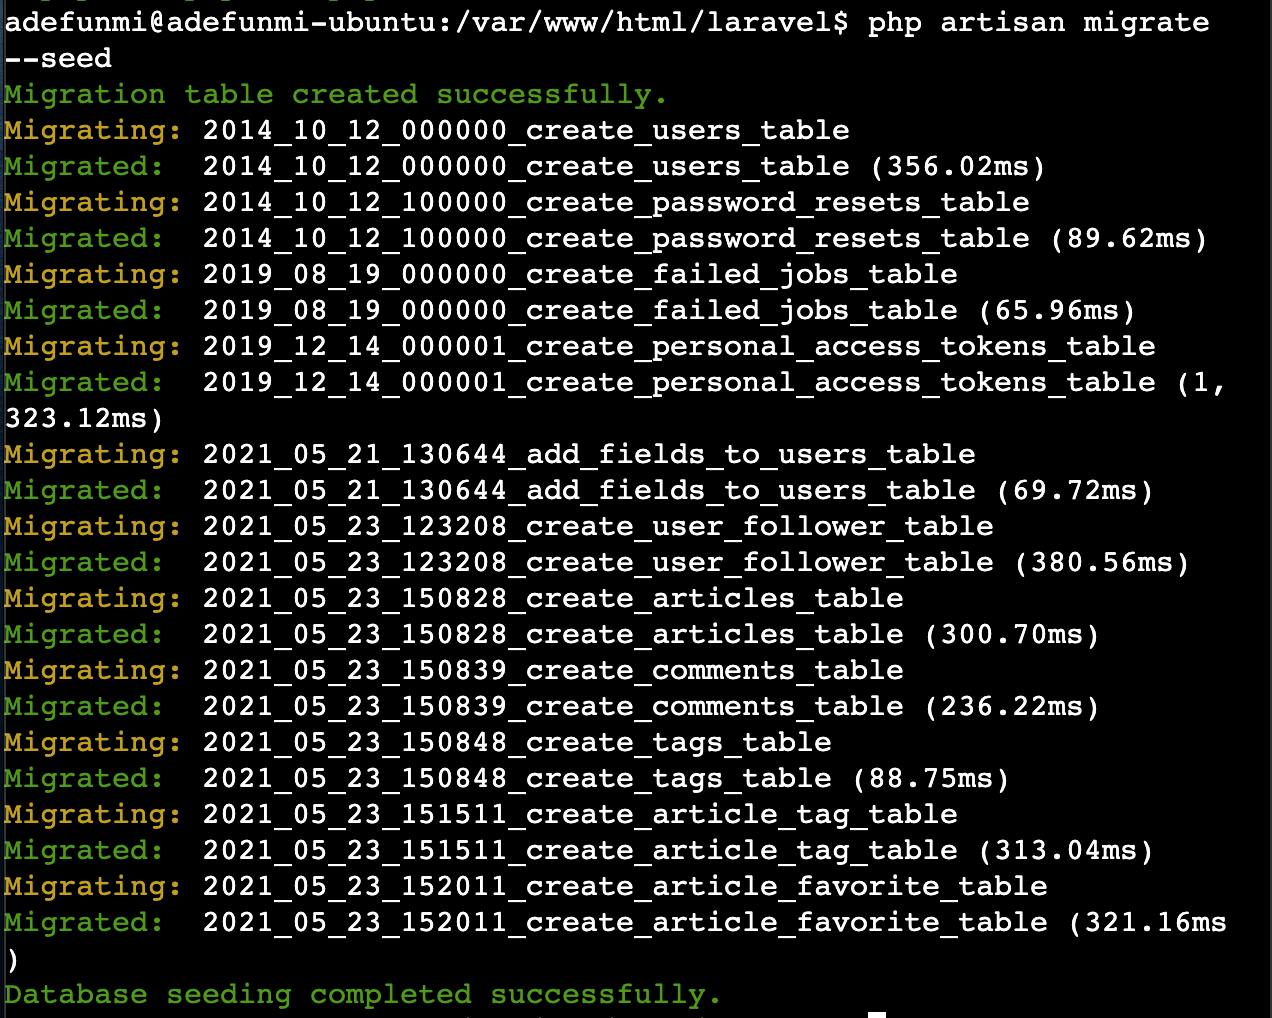
php artisan migrate --seed
php artisan key:generate
After a successful composer install command and data seeding with php artisan migrate --seed you should have an output as shown:
12. Setting the Laravel real-life app permissions:
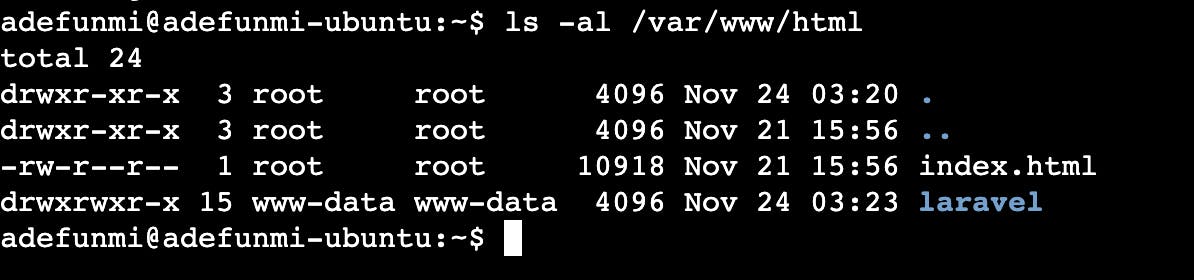
For this app to run on the Apache server, we need to set some permissions on the Laravel directory. From our previous steps, the folder is still owned by the user as shown below, so we have to set the ownership and permissions on the directory and its contents.

cd /var/www/html

sudo chown -R www-data:www-data laravel/

sudo chmod -R 775 /var/www/html/laravel/
13. Setting Apache's Config File and Virtual Host:
To set up our virtual hosting file for the Laravel app, we will have to configure a custom .conf file for Apache. Open the config file with a nano editor:
sudo nano /etc/apache2/sites-available/laravel.conf
Then, add the following lines to it:
<VirtualHost *:80>
    ServerAdmin webmaster@IP-ADDRESS
    ServerName IP-ADDRESS
    ServerAlias www.IP-ADDRESS
    DocumentRoot /var/www/html/laravel/public

    ErrorLog ${APACHE_LOG_DIR}/error.log
    CustomLog ${APACHE_LOG_DIR}/access.log combined

    <Directory /var/www/html/laravel/public>
       Options Indexes FollowSymLinks
       AllowOverride All
       Require all granted
    </Directory>
</VirtualHost>
Note that the .conf file will be the name that you set for your app. I am using laravel.conf because I named mine laravel.
Next, we are going to enable Apache's rewrite module and activate our virtual host as follows:
sudo a2enmod rewrite

sudo a2ensite laravel.conf
To register all the changes made to the Apache config file, we have to reload the server with:
sudo systemctl reload apache2
Final Steps:
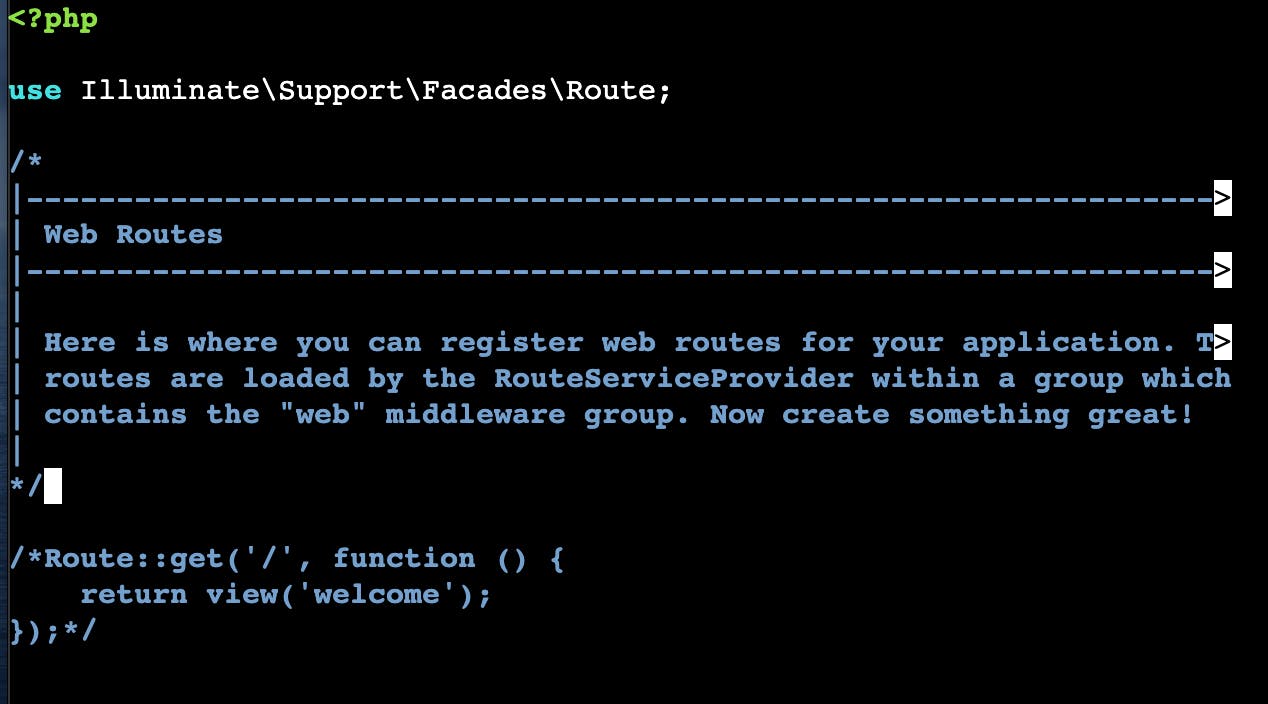
To view the Laravel default page, we will edit the /var/www/html/laravel/routes/web.php file.
cd /var/www/html/laravel/routes

sudo nano web.php
Uncomment the Route code lines by removing the /* and */ around them.
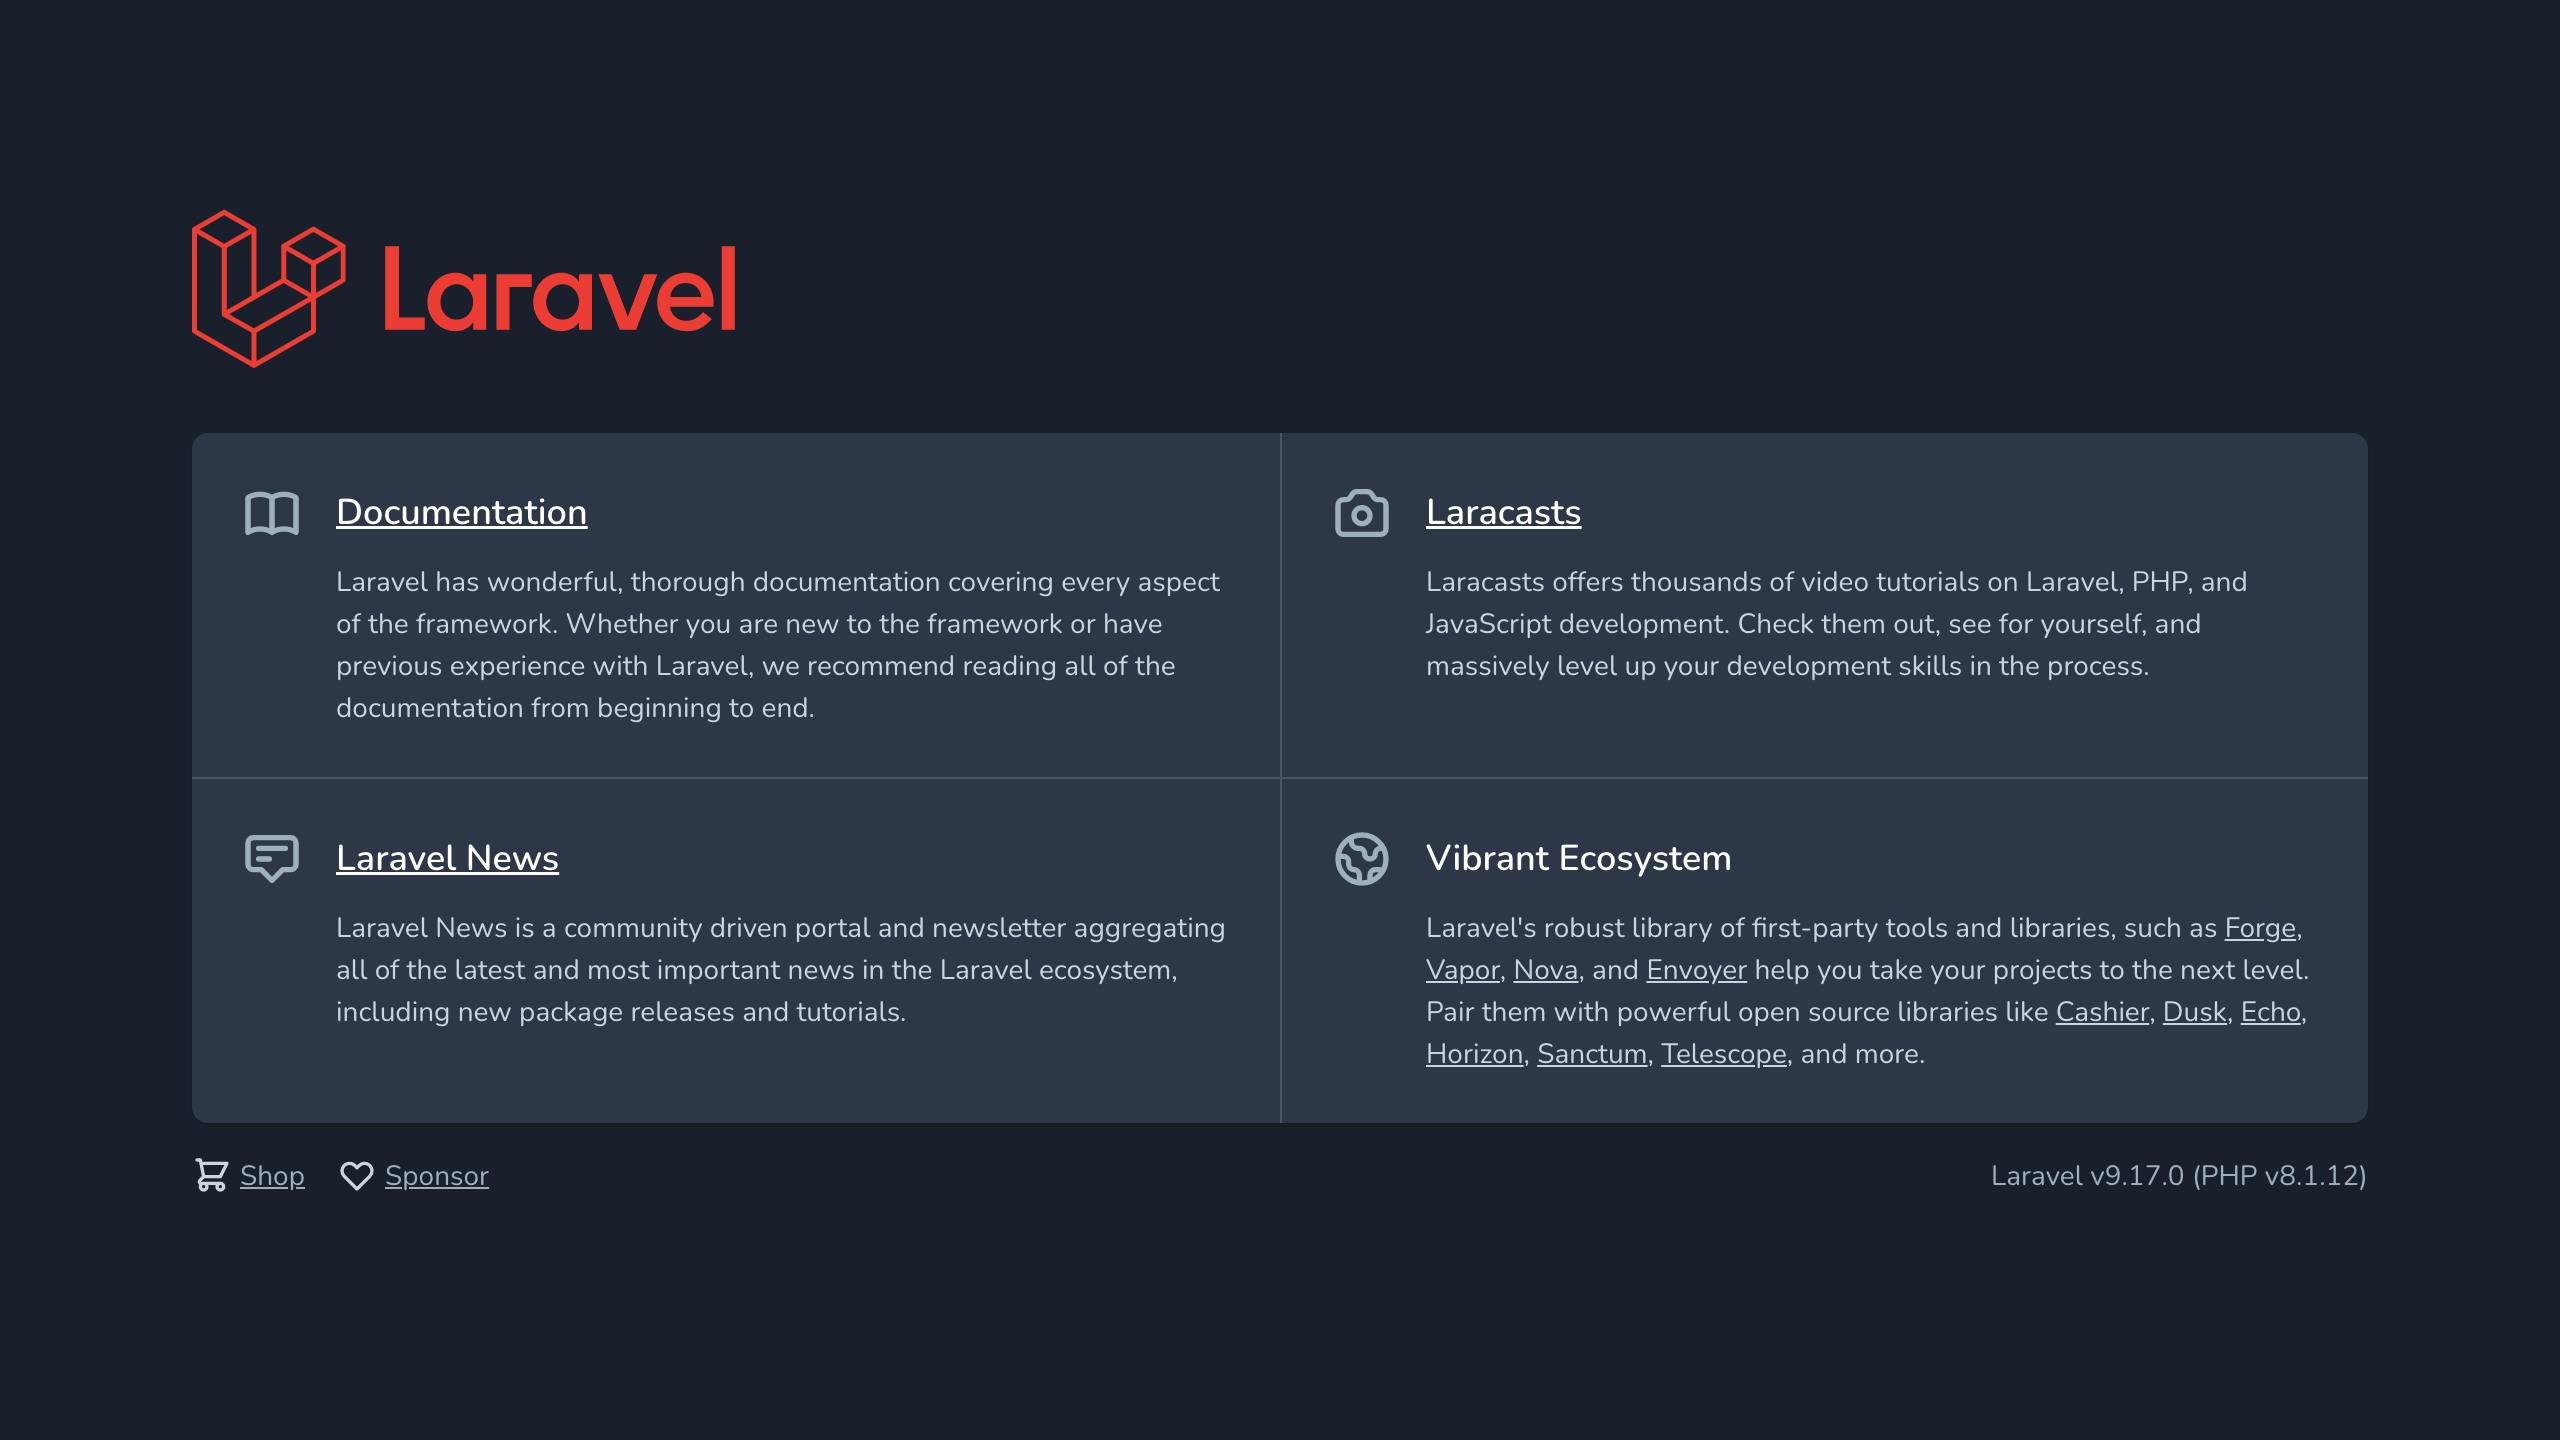
And to view your application, copy and paste the IP address of your server into your browser. You should see this Laravel's default page:
Conclusion
Now you have it, a step-by-step guide to deploying a real-life Laravel app. However, you can take this project a step higher by learning how to automate tasks with Ansible and deploying this same task with it. Learning never stops, Remember that.